
Introduction
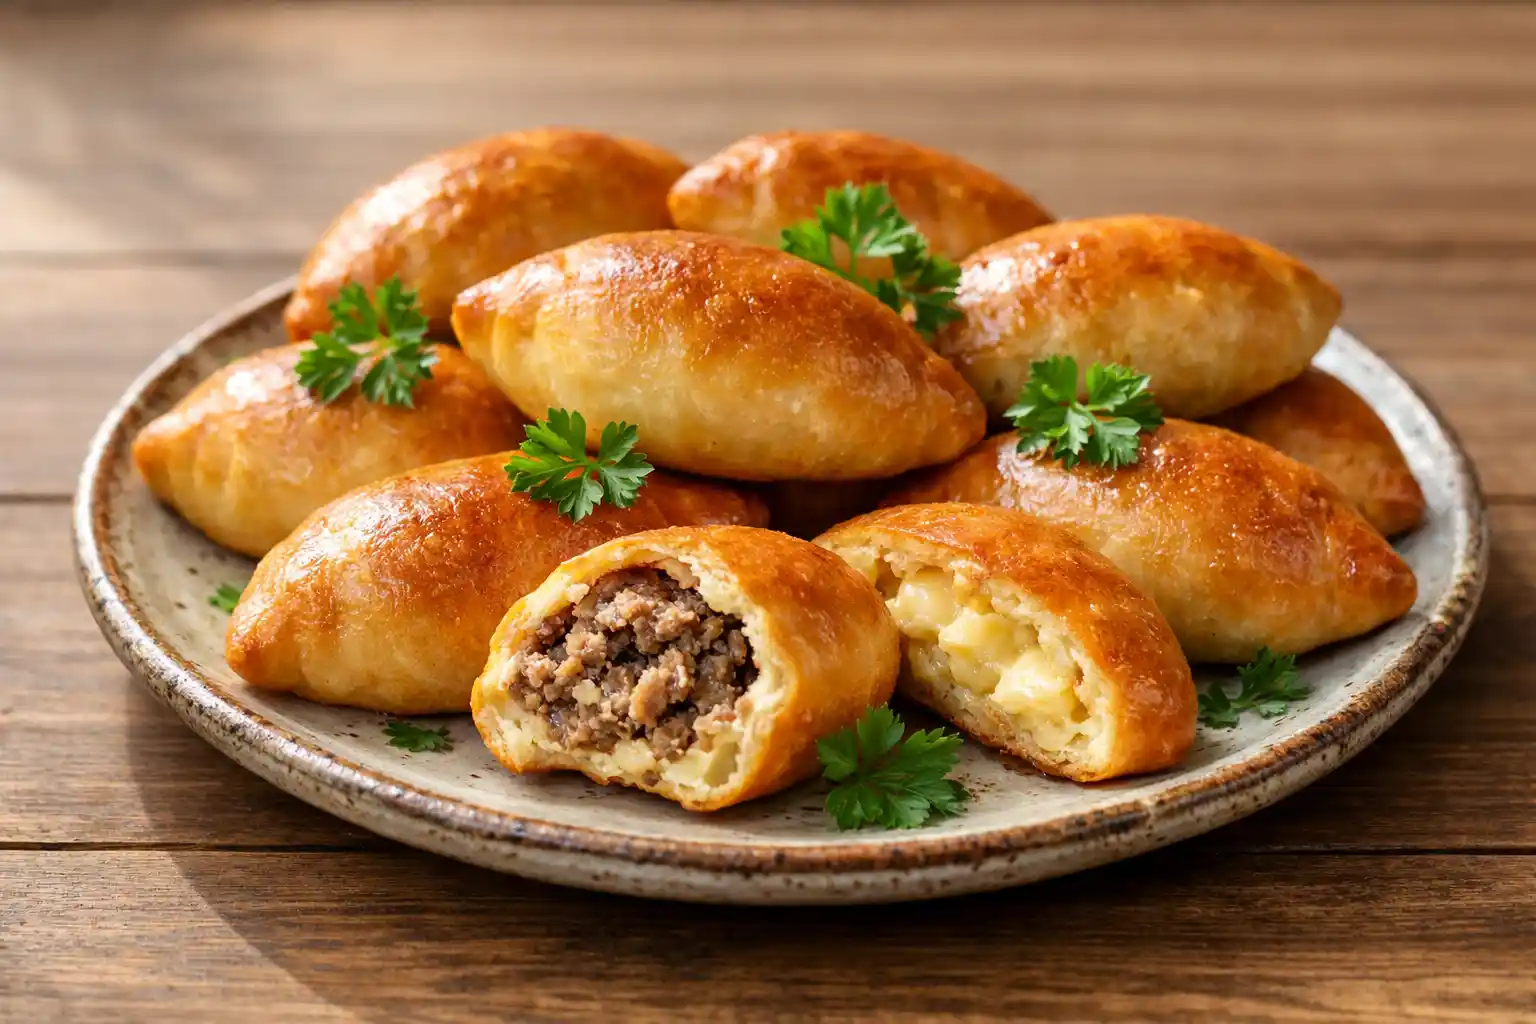
Russian Pirozhki are small stuffed pastries filled with meat, potatoes, cabbage, or fruit, and are considered a traditional and delicious Russian dish. They feature soft, light dough and a well-balanced filling, making them perfect as an appetizer or side dish.
Success in making Pirozhki depends on preparing elastic dough, a cohesive filling, and properly folding the pastries, while baking them at the correct temperature.
1. Main Ingredients
Dough Ingredients
- All-purpose flour: forms the base of the pastries.
- Warm milk or water: helps make the dough soft and pliable.
- Butter or margarine: adds smoothness and flexibility.
- Instant yeast: to leaven the dough and make it fluffy.
- Sugar and salt: to enhance flavor and balance taste.
- Egg: binds the dough and gives a golden color when baked.
Filling
- Ground meat or chicken: well-cooked and seasoned.
- Chopped onion: adds flavor and moisture.
- Salt and pepper: to taste.
- Optional vegetables: mashed potatoes or cabbage, depending on the type of pirozhki.
2. Preparing the Dough
- Dissolve yeast in warm milk with a little sugar.
- Mix flour with salt and sugar.
- Add butter, egg, and yeast mixture.
- Knead until dough is soft and elastic.
- Cover and let it rest and rise for at least 1 hour.
Tips
- Elastic dough is easier to roll and shape without tearing.
- Proofing time is important to produce light and fluffy pastries.
3. Preparing the Filling
- In a skillet, sauté onions until translucent.
- Add ground meat and cook thoroughly until done.
- Season with salt and pepper as desired.
- Let the filling cool before placing it in the dough.
4. Shaping the Pirozhki
- Roll out dough on a floured surface about 3–5 mm thick.
- Cut into circles or squares as desired.
- Place a small spoonful of filling in the center of each piece.
- Fold dough into a half-moon or square shape, pressing edges firmly.
Tips
- Avoid overfilling → prevents pastries from opening while baking.
- Firmly sealing the edges keeps the juices inside.
5. Baking
- Place pirozhki on a buttered baking tray or one lined with parchment paper.
- Brush tops with a beaten egg for a golden shine.
- Bake in a preheated oven at 180–200°C (350–400°F) for 20–25 minutes or until golden brown.
Tips
- Do not open the oven during baking to maintain pastry volume.
- Pirozhki can be frozen before baking for easy future preparation.
6. Serving
- Serve hot with tea or a Russian side soup.
- Can also be eaten cold as a light snack.
- Optional: sprinkle sesame seeds on top for decoration.
7. Common Mistakes
- Dough too firm → results in tough, non-fluffy pastries.
- Filling too hot → pastries may open during baking.
- Baking at too high a temperature → burns top before inside is cooked.
- Edges not sealed properly → filling leaks out.
8. Storage and Reheating
- Store in an airtight container in the fridge for 2–3 days.
- Reheat in the oven at low temperature to maintain texture.
- Freezing before baking makes them ready to bake later without losing texture.
9. Flavor Adjustments
- Change filling as desired: mashed potatoes, cabbage, or sweet fruit.
- Add fresh herbs or spices for variety and flavor enhancement.
- Adjust salt and pepper to taste.
10. Conclusion
Russian Pirozhki are soft, light stuffed pastries made with elastic dough and balanced filling. Following the steps for proofing, shaping, and baking ensures golden, crispy pastries on the outside and tender on the inside. They are perfect for both festive occasions and everyday meals.


